Texture Modding
This guide will teach you how to use the tools for modding SoH (and 2S2H) to replace textures.
You will need the following:
- An installed and ready to play copy of SoH or 2S2H.
- Retro, HM64's mod archive tool.
- Your image editor of choice.
Step one: Unpacking the base textures
Open Retro, and you will be presented with the following:
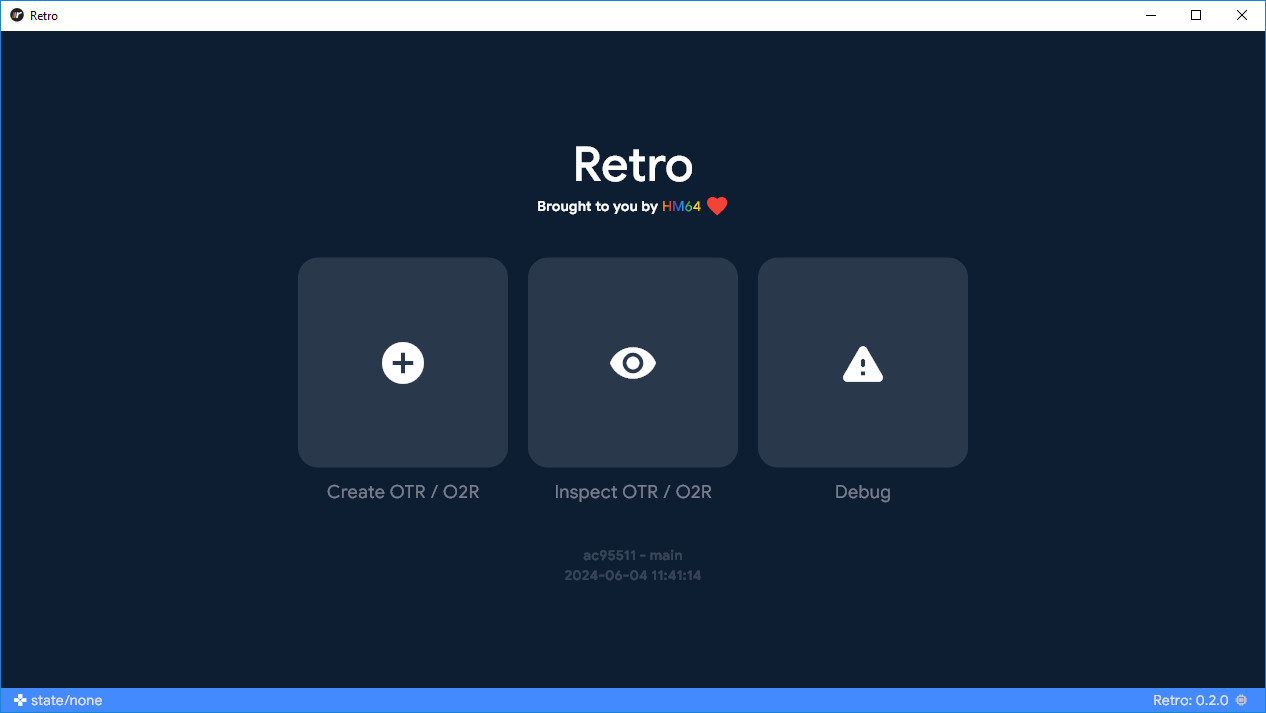
Select "Create OTR/O2R" to move to the next set of choices.
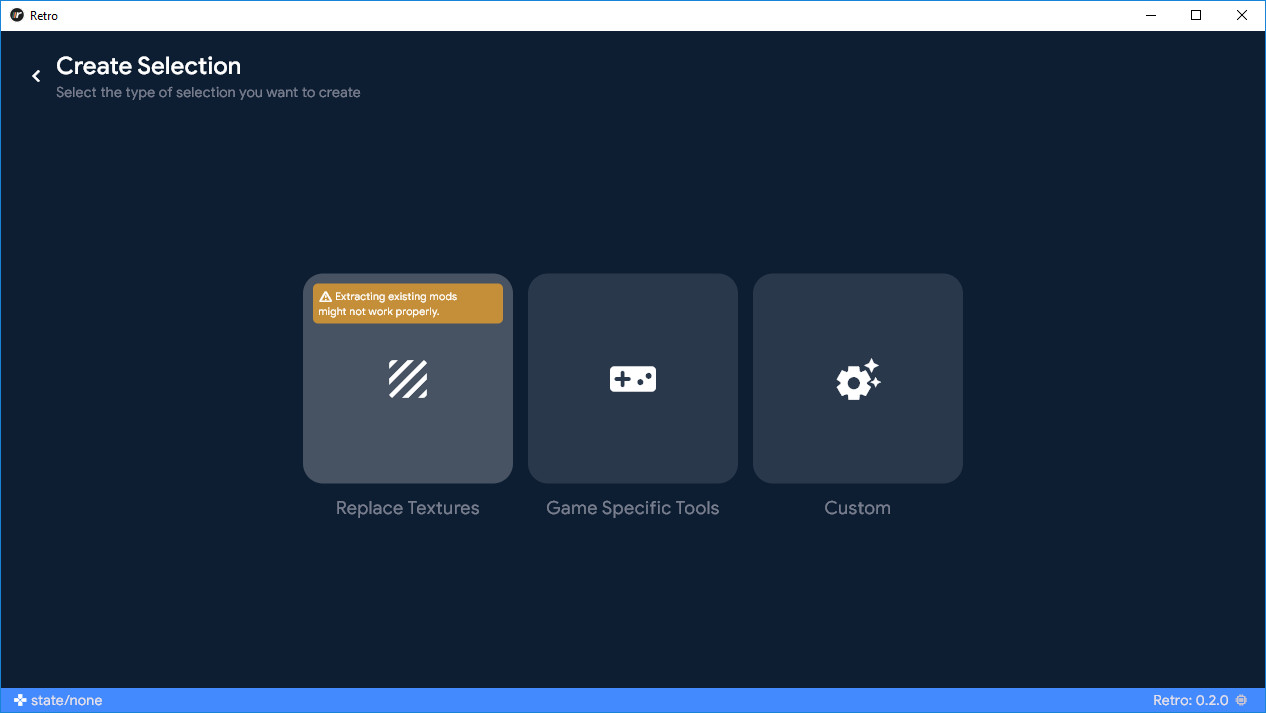
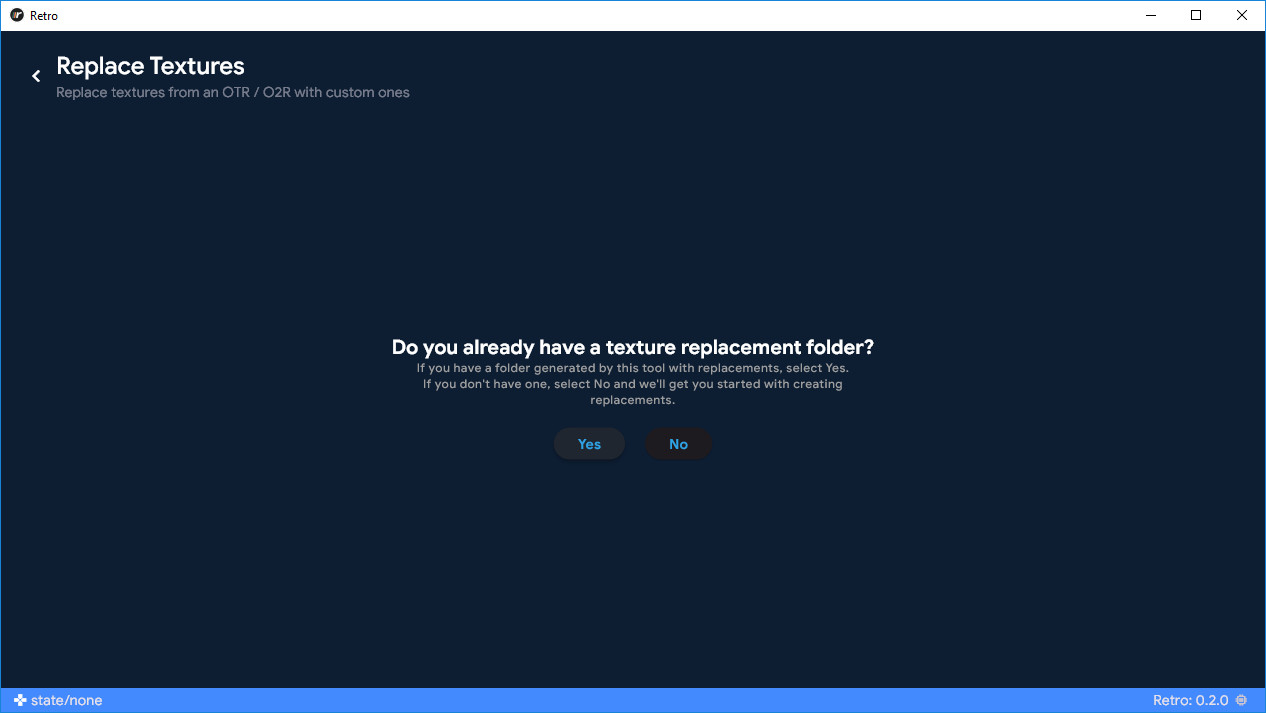
Select "Replace Textures" to be presented with the following prompt:
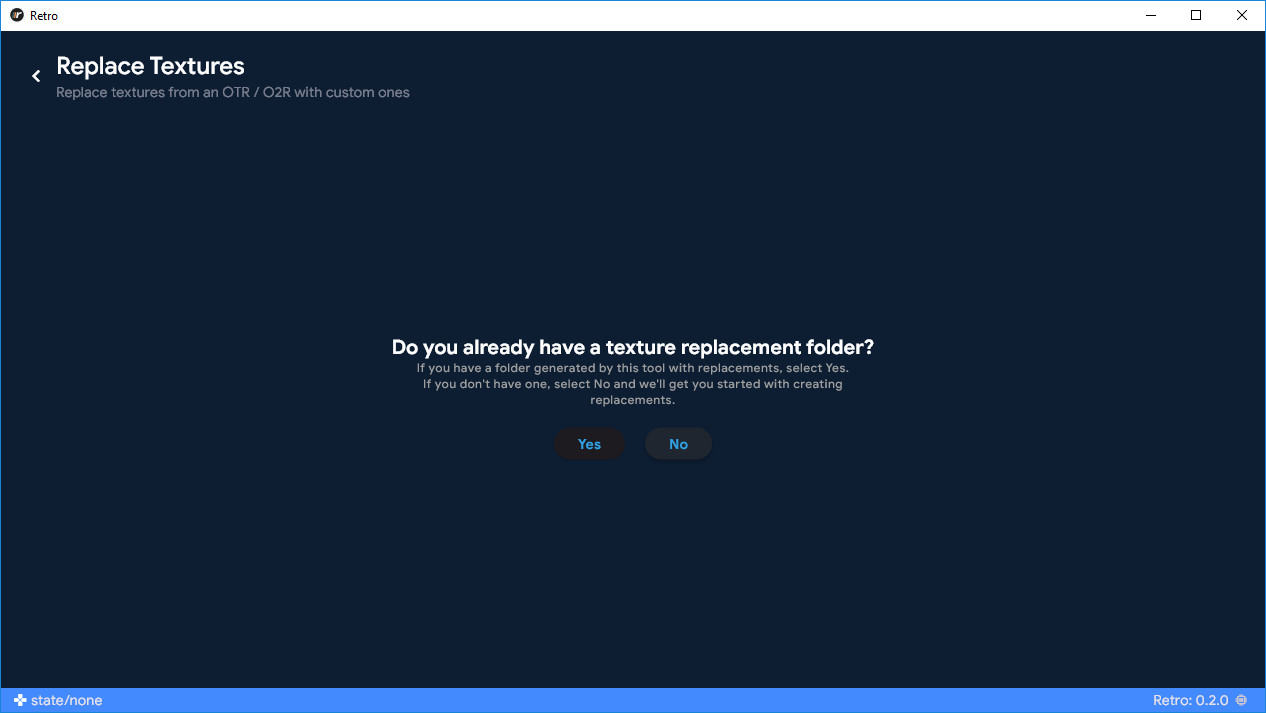
We do not have our base folder, so we need to create it. Choose "no" to proceed, and you will see the following:
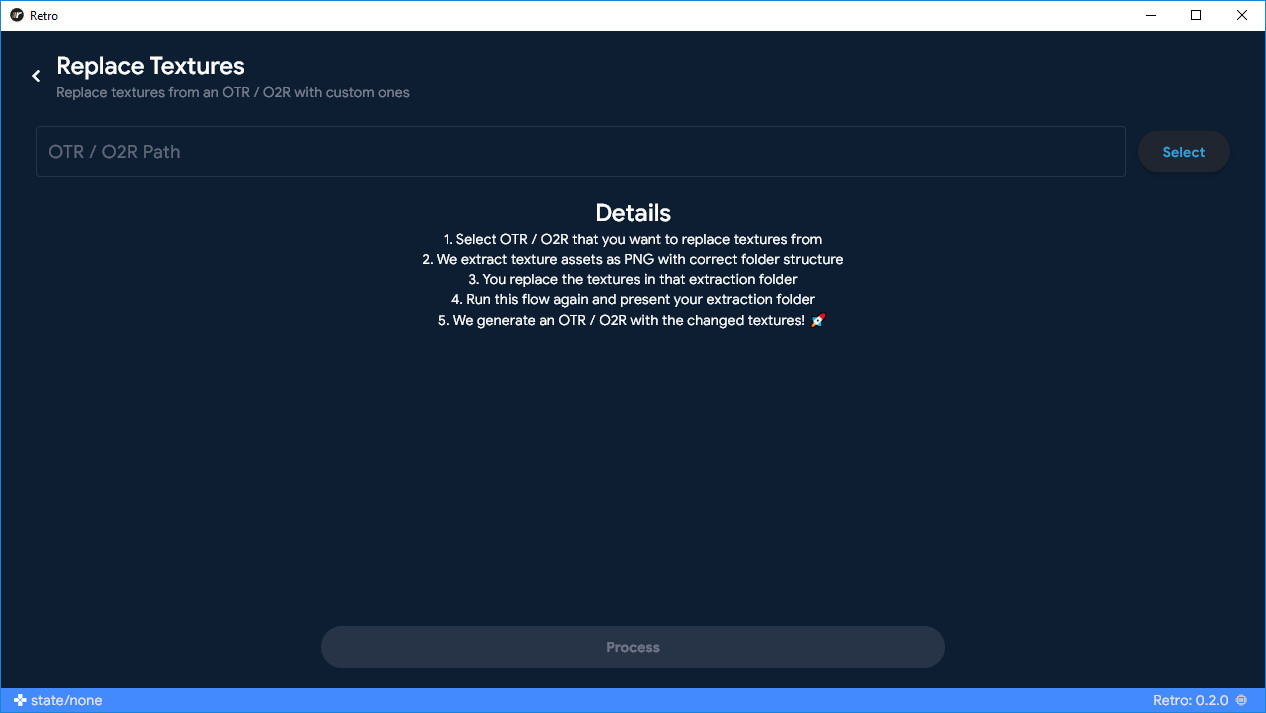
Click 'Select' to open a file browser, and navigate to your game's install directory. Here, select the asset archives - the OTR or O2R files. Hit 'Open' to continue, and 'Process' to proceed to the next step.
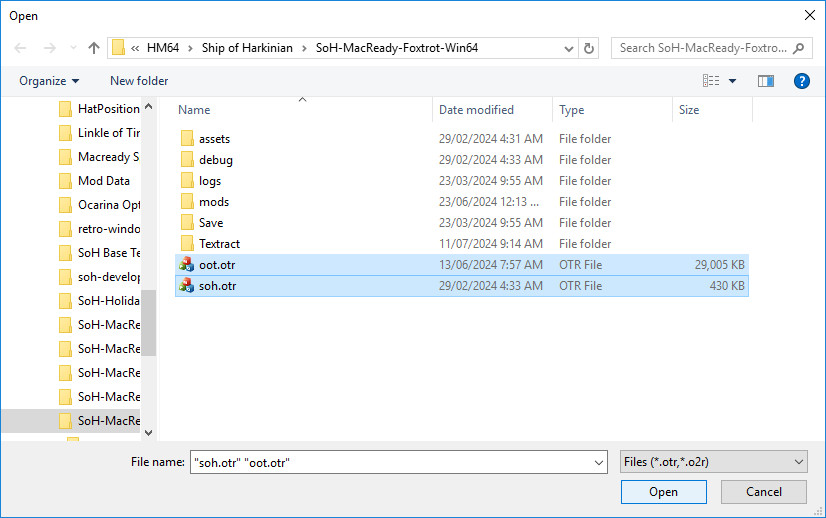
On Linux, the bundled custom assets will be found inside the Appimage.
You can mount the Appimage in terminal with --appimage-mount, navigate to the mounted image, and find the bundled archive in /usr/bin/.
The file browser will open again, to choose the location the textures will be unpacked. Navigate to your preferred location, and create a folder to contain the unpacked textures. Confirm, and wait for the software to process; this can take some time.
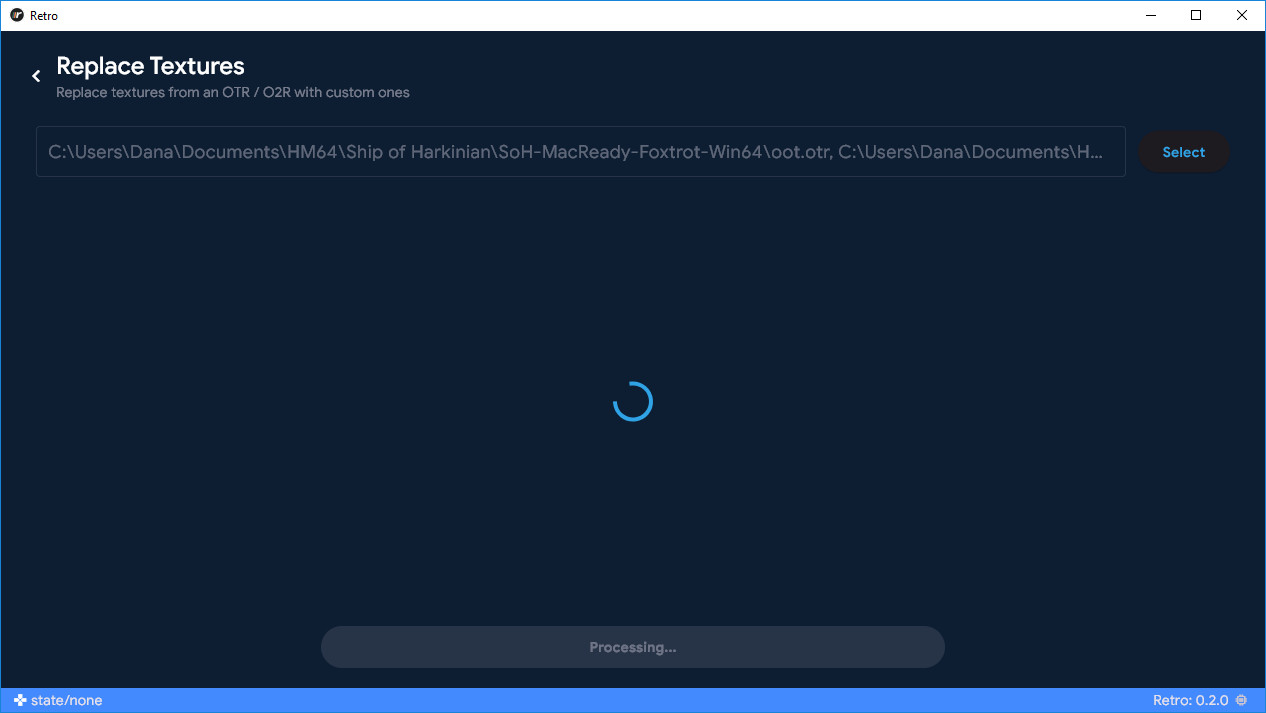
When finished, you will see a confirmation screen similar to this:
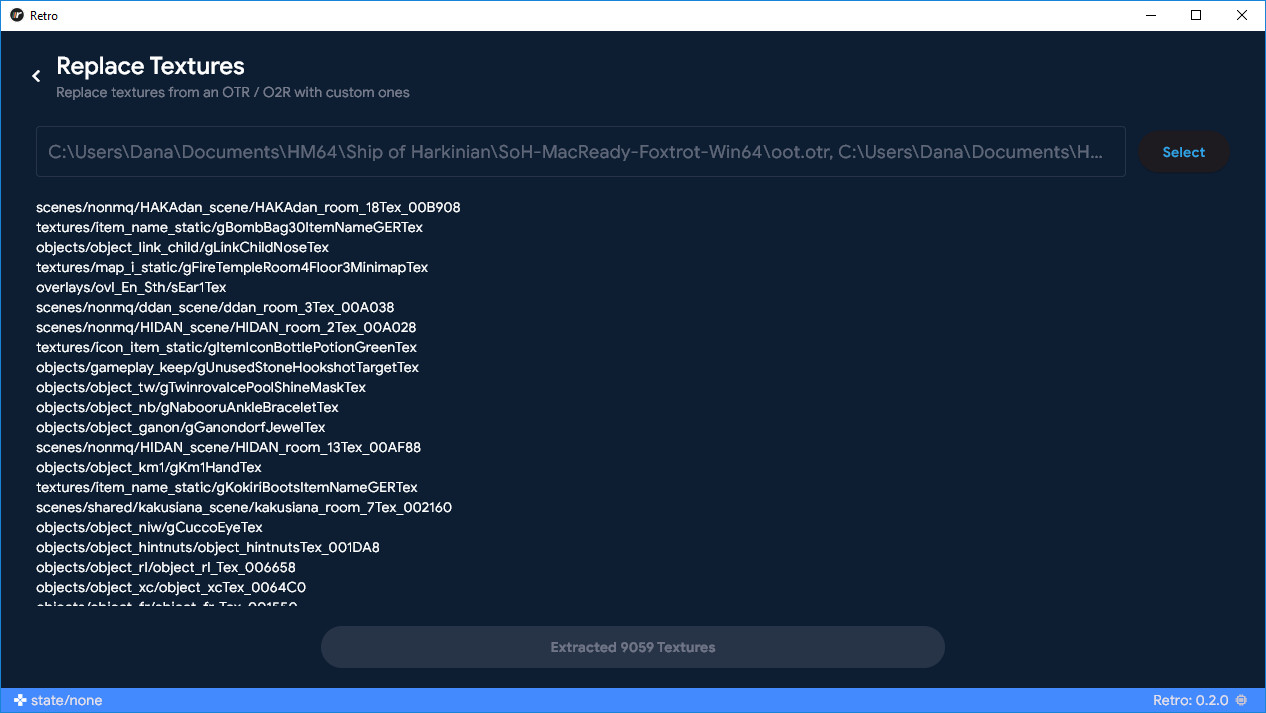
Step two: Altering the textures
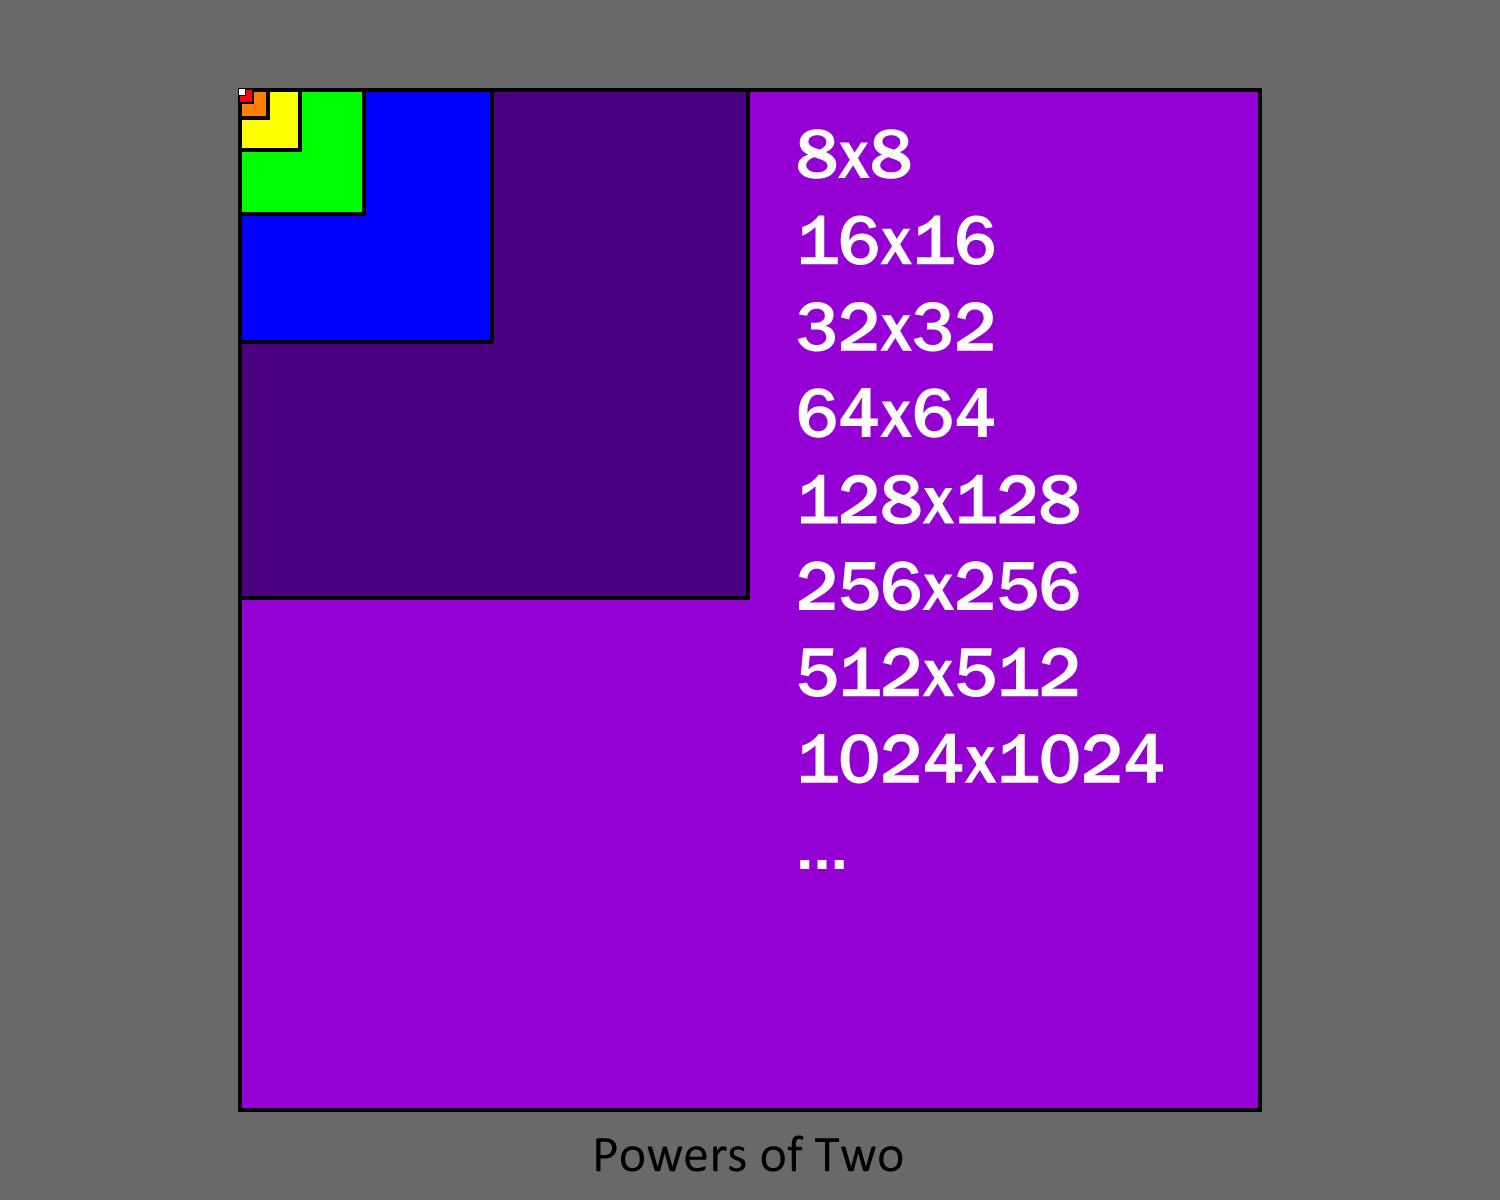
First, locate the texture you wish to alter. The unpacked files will be .PNG format, and can be opened and altered with your image editor of choice. Be aware of textures tied to palettes - these will extract from SoH's archives as unreadable black & white images with a matching "TLUT" containing the palette. Readable copies of these textures can be obtained from a copy of the OoT or MM Decompilation, followed at least through to Asset Extraction. When altering the textures, you may increase the size, but you should always stick to Power of Two dimensions.
When saving your new textures, ensure that you are not creating Indexed PNGs; some editors produce compressed 8-bit Indexed PNGs by default, to reduce filesize. These will not work correctly, so be sure to reference operational instructions for your software package.
Save your new textures over the originals you have unpacked; the file names and directory paths are important. Note that any of the textures tied to TLUTs will need to be recognised as "HD" to ignore palette limitations and be replaced properly. "HD" textures are those with power of two dimensions above 64x64.
Step Three: Packing your archive
Using Retro, selecting the "Replace Textures" button will bring you to a familiar prompt. This time, click 'Yes'.
Ensure the "Prepend Alt" option is checked, to make your mod compatible with the Alternate Equipment toggle, and community standards.
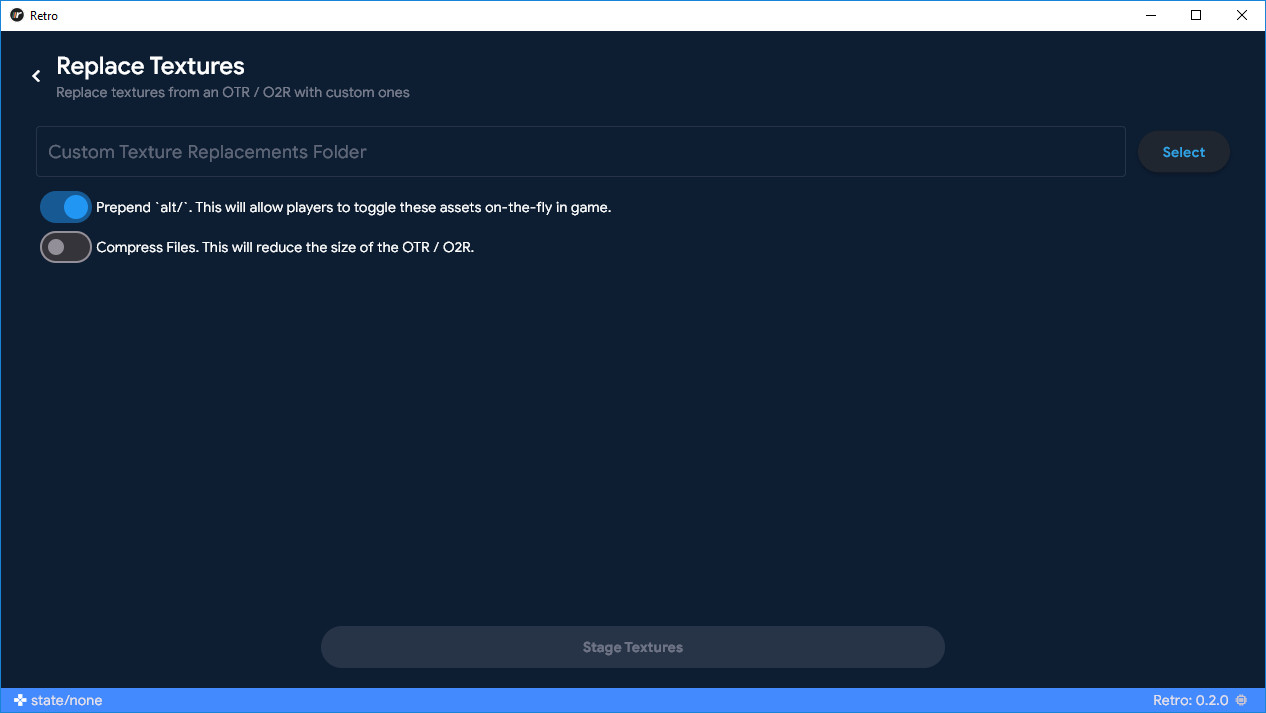
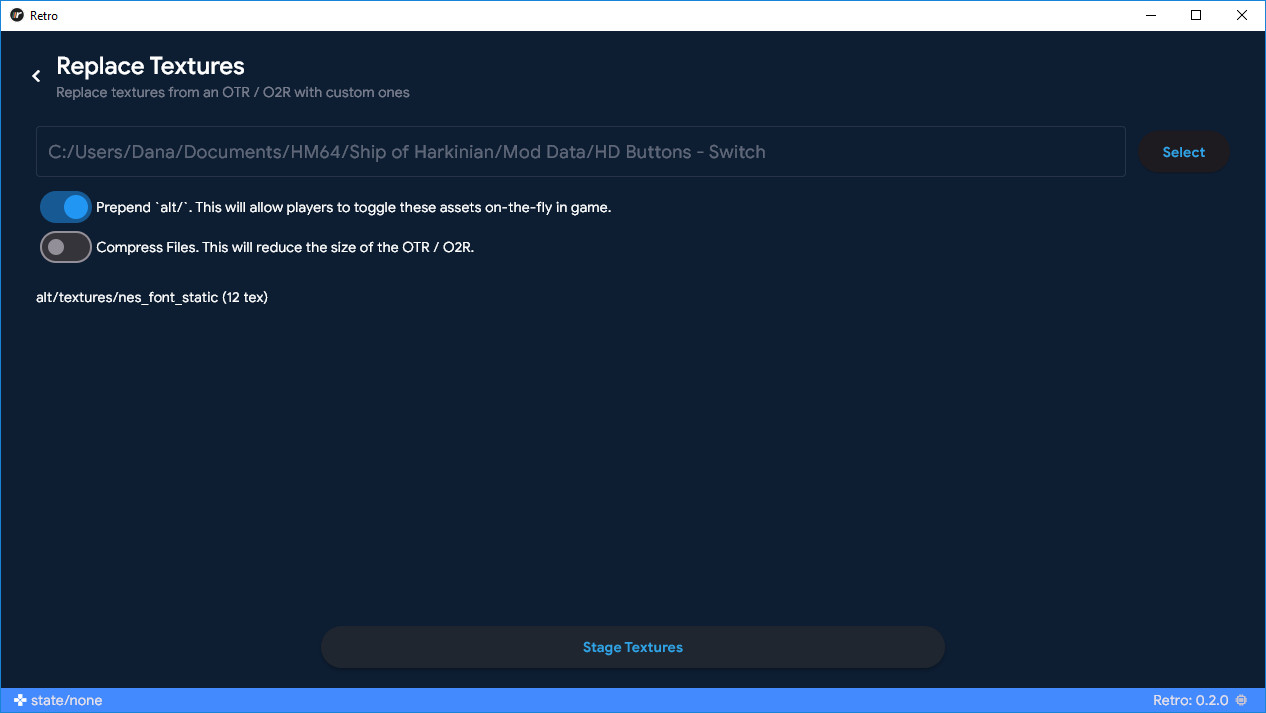
Click "Select" to be greeted with a file select prompt once again. Here, you will want to navigate to the root folder of the unpacked textures. It may take some time to process which images have and have not changed. Stay patient.
Once processed, you will see a list of what it has recognised as new, and the "Stage Textures" button will be active.
It will appear to return to the main menu, now with a prominent banner along the bottom.
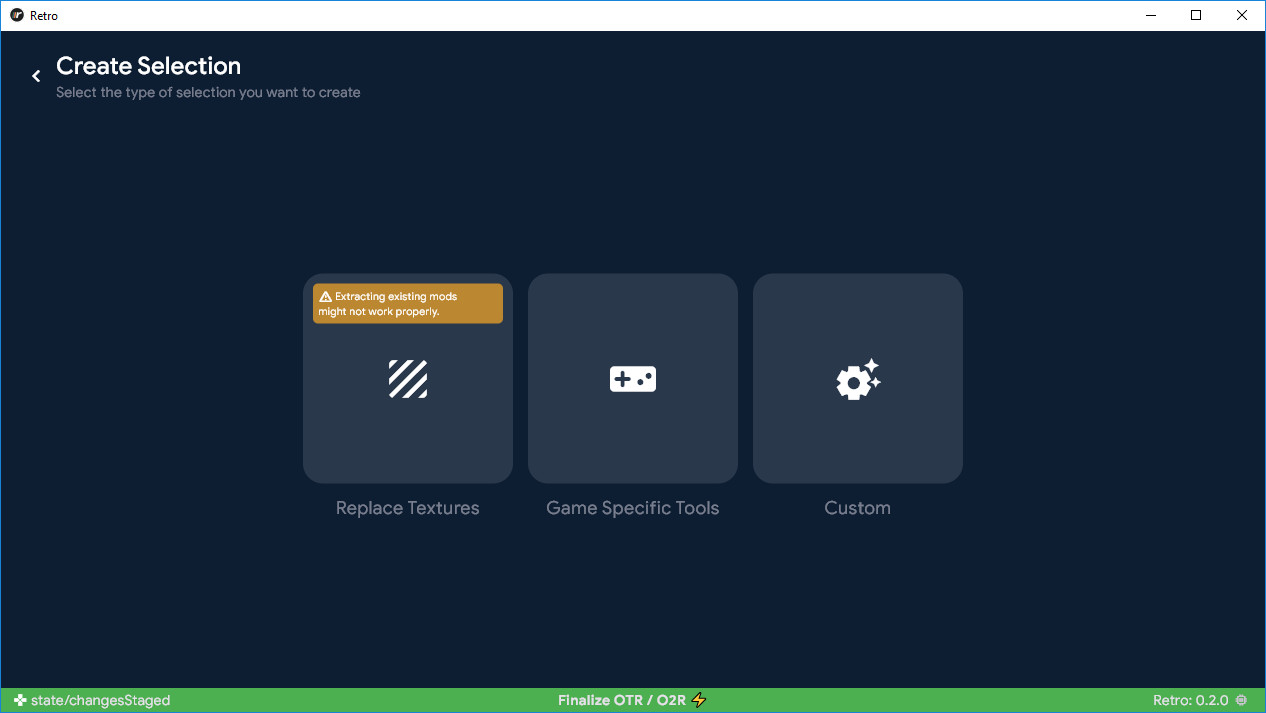
Click the banner to open the finalising window:
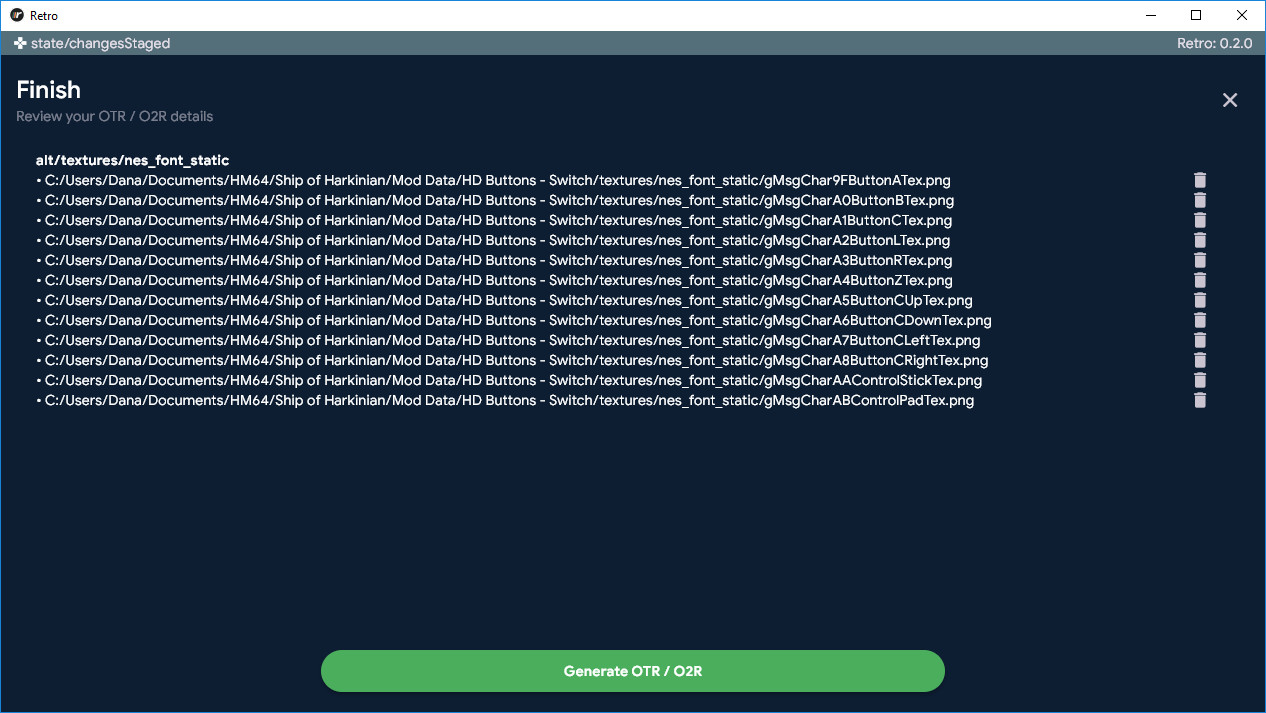
In this last menu, texture files can be excluded from the packing by clicking the trash can icon next to a given entry.
When satisfied, click the "Generate OTR/O2R" button. This is where we get our file for the mods folder.
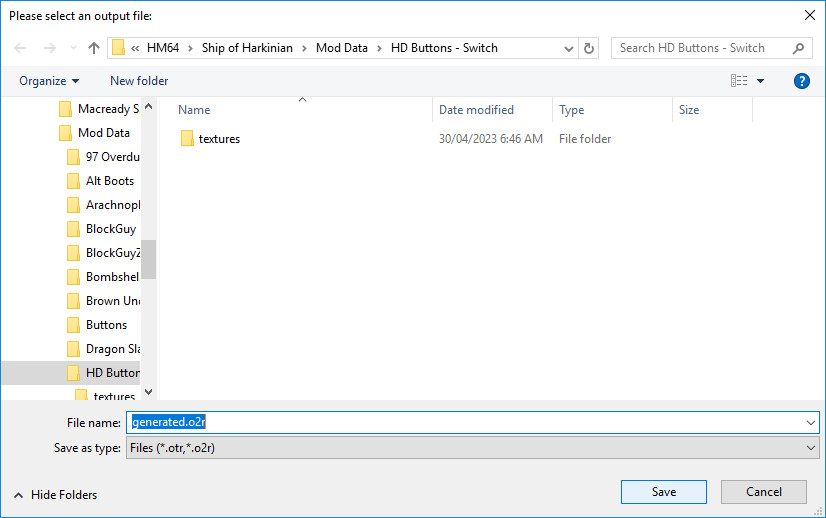
It will open file browser once again, defaulting to "generated.O2R" - if working for SoH, you need to change that extension to OTR to generate a compatible archive. Any name will suffice, but it is best to be descriptive for users.
Now put it in the mods folder; activate it in-game, and see how you like it!